Setting up a machine learning environment can be a messy affair. Between version mismatches, conflicting dependencies, and tools that work on one machine but not another, it’s easy to get frustrated. That’s why we built a portable AI development environment using Docker—and it’s been a game-changer.
This project is ideal for beginners learning machine learning on Linux who want a stable, consistent setup that just works—whether you’re coding at home, in a lab, or on a different laptop.
💡 Why a Portable Docker-Based Setup Makes Sense
Machine learning environments often require multiple libraries like NumPy, pandas, scikit-learn, Jupyter, and sometimes even GPU support. Installing them directly on your system can lead to version conflicts or broken environments.
By using Docker, you:
- Create an isolated container with all the tools you need
- Avoid cluttering your base Linux system
- Can share your setup easily with friends or teammates
- Reproduce your dev environment anywhere in seconds
It’s not just cleaner—it’s smarter.
🛠️ What You’ll Build
A Docker container that includes:
- Python 3.10+
- Jupyter Notebook/Lab server
- Popular ML libraries: NumPy, Pandas, Matplotlib, Scikit-learn
- Optional: Git, VS Code server, or Hugging Face Transformers
You’ll be able to:
- Run
docker runand instantly get a working ML lab - Mount your code so it’s saved outside the container
- Access your environment via browser
⚙️ Prerequisites
- Linux system (Ubuntu or similar)
- Basic understanding of Python
- Docker installed
🧱 Step 1: Create the Dockerfile
What This Step Does
This is the foundation of your portable AI environment. A Dockerfile is like a blueprint—it tells Docker what base image to start with, which tools to install, and how to configure the container. This step ensures that every time you spin up the environment, it behaves exactly the same, no matter which Linux system you’re on.
Breaking Down the Code
FROM python:3.10-slim
We start with a lightweight Python 3.10 base image. “Slim” means it’s minimal, reducing size and load time.
WORKDIR /workspace
This sets the working directory inside the container where your files and notebooks will live.
RUN pip install --no-cache-dir jupyterlab pandas numpy matplotlib scikit-learn
We install essential machine learning libraries—this is your ML starter kit. --no-cache-dir reduces image size.
EXPOSE 8888
We expose port 8888 so you can access JupyterLab from your browser on localhost.
CMD ["jupyter", "lab", "--ip=0.0.0.0", "--allow-root", "--NotebookApp.token=''"]
This command runs JupyterLab automatically when the container starts. The --allow-root flag is needed since Docker often runs as root, and we disable token authentication for simplicity.
Why This Approach Works
- Reproducibility: Same tools, same versions, every time
- Portability: Move this to any Linux system with Docker
- Simplicity: One file, zero manual setup
By using this Dockerfile, you’re automating the messiness of ML environment setup—and gaining full control over your dev stack.
Here’s a simple Dockerfile to get you started:
FROM python:3.10-slim

# Set working directory
WORKDIR /workspace

# Install necessary libraries
RUN pip install --no-cache-dir jupyterlab pandas numpy matplotlib scikit-learn

# Expose port for Jupyter
EXPOSE 8888

# Start Jupyter Lab
CMD ["jupyter", "lab", "--ip=0.0.0.0", "--allow-root", "--NotebookApp.token=''"]
Save this as Dockerfile in a new folder.
📦 Step 2: Build Your Image
In your terminal:
docker build -t ai-dev-env .
This creates a reusable image with everything pre-installed.
🚀 Step 3: Run Your AI Lab
To start your environment:
docker run -p 8888:8888 -v $PWD:/workspace ai-dev-env
-pmaps the container’s Jupyter port to your local port-vmounts your current folder into the container so your work is saved
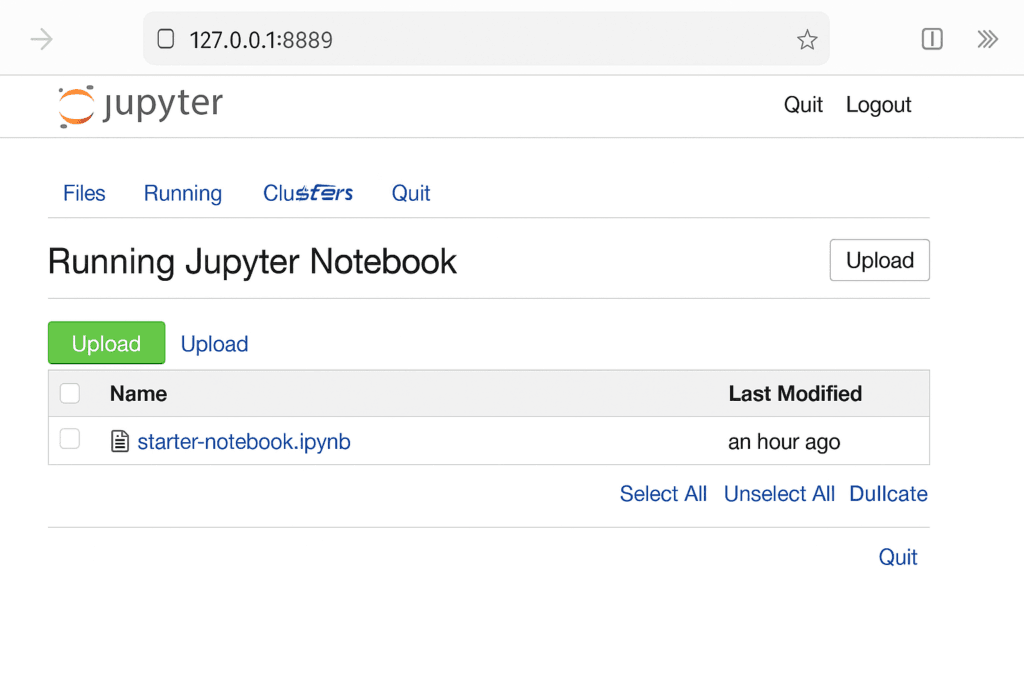
Open your browser at https://localhost:8888 and start coding!
📁 Step 4: Add Your First Notebook
What This Step Does
This step is where you start using your environment like a real development lab. You’ll create your first Jupyter notebook and test that all your ML libraries are working correctly. It’s a small but important confirmation that your portable setup is ready for action.
Inside your mounted directory (remember, you mapped your local folder using -v in Step 3), create a new notebook file. Jupyter will detect this folder and let you edit and run code from your browser.
Why We Do This
Notebooks are the preferred format for data science and machine learning projects. They allow you to:
- Write code and documentation in one place
- See output inline (graphs, tables, etc.)
- Keep experiments organized and reproducible
The notebook you create here can stay with you across machines, thanks to the Docker-mounted volume

Create a new .ipynb file inside your mounted directory. Try this:
import pandas as pd
import numpy as np

print("ML lab is ready!")
You can now write and run ML code like you would in any online notebook—but with full control.
💡 Extras You Can Add
- VS Code Remote via
code-server - HuggingFace Transformers and Datasets
- GPU support with NVIDIA Docker (if on supported hardware)
- Add
matplotlibto create visualizations
📋 Real-World Use Cases
- Teaching ML in classrooms without needing students to install anything
- Testing models on different systems without config issues
- Sharing your work in hackathons or ML clubs
✅ Final Thoughts
You don’t need a huge setup or fancy cloud tools to get started with machine learning. A portable, Docker-based AI lab lets you experiment, learn, and collaborate with ease—and it works anywhere Linux does.
This is the exact setup we use when onboarding interns or setting up quick demos. If you’re new to ML or just want a zero-hassle way to code on the go, this project is a solid starting point.
👉 Get the full Dockerfile, instructions, and bonus features on PixelHowl – just comment below!
Check out our other projects below:


