 Too Long; Didn't Read
Welcome back to the Ceph S3 Backup Setup series! In Part 1, we prepared our infrastructure and discussed the importance of object storage for modern backup workflows. Now, it’s time to roll up our sleeves and get Ceph and RGW deployed!
In this part, you’ll:
- Install the Ceph cluster with BlueStore-backed OSDs
- Deploy the RADOS Gateway (RGW) with
cephadm - Configure realms, zones, ports, and labels
- Prepare your cluster for single-site or multi-zone deployments
This tutorial uses Ceph Quincy or Reef and assumes you’re working on bare-metal or virtual machines, optionally via OpenMetal IaaS.
cephadm installed and bootstrapped
When setting up Ceph as your S3-compatible object storage backend, the foundation is built on Object Storage Daemons (OSDs), each one controlling a physical disk or partition. These OSDs must use a storage backend, and BlueStore is Ceph’s modern, default, and highly optimized backend.
We chose Ceph for its mordern architecture and outlook, Ceph is:
- Proven in hyperscale environments like CERN and OpenStack
- Fully open-source, scalable, and vendor-neutral
- Self-healing and self-managing, reducing ops overhead
- S3-compatible when combined with RADOS Gateway (RGW)
- Ideal for both hot backups and cold archives
Why BlueStore for the OSDs?
BlueStore is Ceph’s native storage backend designed specifically for optimal integration and performance with Ceph clusters. Unlike the XFS or EXT4 – the native backup options from Ceph doesn’t add additional layers and it directly writes on to the blocks. With this you will get Faster data access and less latency in retrievals.
Apart from this it does provide best solution to high ops workloads like streaming backups and also has a predictable performance.
The Bluestore also provides end-to-end checksumming of all data and metadata, and it automatically repairs corrupt objects during recovery. This prevents disk rot and anomalies in backup and the process also ensures the backup integrity.
BlueStore uses an embedded RocksDB instance per OSD to manage metadata like object placement, versioning, and keys. This ensures that the meta lookups are faster and you get faster results for the backups.
You can enable inline compression (zlib, zstd, snappy) per Ceph pool, allowing you to have a shorter size for backups and faster backup processes.
The bluestore architecture is used and tested in heavy cloud envirornments where the backup sizes exceeds petabytes. Cloud environments like openstack uses this architecture. Also it is known for Faster recovery after node failures. So overall we are choosing the default Bluestore storage backend.
Enough talks – lets deploy using cephadm
Before we do anything fancy like setting up storage or gateways, we need to install the tool that makes the magic happen – cephadm.
Think of cephadm as your control tower. It’s the tool that tells Ceph what to deploy, where to deploy it, and how to keep it running. Without it, you’d be dealing with complex, manual setups. With it, you can get a full-blown Ceph cluster up in hours not days.
The good news? Installing cephadm is lightweight, doesn’t require a full Ceph install yet, and takes just a few minutes on most Linux machines. All you need is a fresh host (ideally Ubuntu 22.04 or CentOS 8 Stream) with SSH access and internet connectivity.
We’ll install it on your admin node the machine that will orchestrate the rest of your Ceph cluster. You can think of this node as the “conductor” of your storage orchestra.
# Install curl and gnupg if not already present
sudo apt update
sudo apt install -y curl gnupg lsb-release

# Add the official Ceph repository
curl -fsSL https://download.ceph.com/keys/release.asc | gpg --dearmor -o /usr/share/keyrings/ceph.gpg
echo "deb [signed-by=/usr/share/keyrings/ceph.gpg] https://download.ceph.com/debian-reef/ $(lsb_release -sc) main" | sudo tee /etc/apt/sources.list.d/ceph.list

# Install cephadm
sudo apt update
sudo apt install -y cephadm
cephadm version
And that’s it! You now have cephadm installed and ready to bootstrap your cluster, which we’ll cover in the next step.
Now lets prepare for Bluestore:
ceph orch device ls
Label the available devices:
ceph orch device zap <HOST> /dev/sdX --force
ceph orch daemon add osd <HOST>:<device>
but if you are having no reservations to the drives to be assigned, you can easily find all the free drives and run the command:
ceph orch apply osd --all-available-devices
Once the installation is done you can run:
ceph -s
You should see healthy OSDs listed now. If any are missing, check journal or systemd logs.

Deploying RGW (RADOS Gateway)
Step 2: Deploying RGW (RADOS Gateway) Using cephadm
Now that we have our Ceph cluster up and running with storage devices (OSDs) using BlueStore, it’s time to turn this cluster into something truly useful — a place to store our backup data using an S3-compatible interface. That’s where RGW (RADOS Gateway) comes in.
Think of RGW as a translator. While Ceph stores data in its own internal way, RGW gives us a familiar way to interact with that data, using the same S3 commands that cloud platforms like AWS use. This makes it perfect for backup tools like Kopia or Restic that speak S3 natively.
To set this up, we use a Ceph command called cephadm, which acts like an orchestrator. It handles all the heavy lifting behind the scenes, from spinning up gateway services to placing them on the right server and wiring them up with the rest of the cluster.
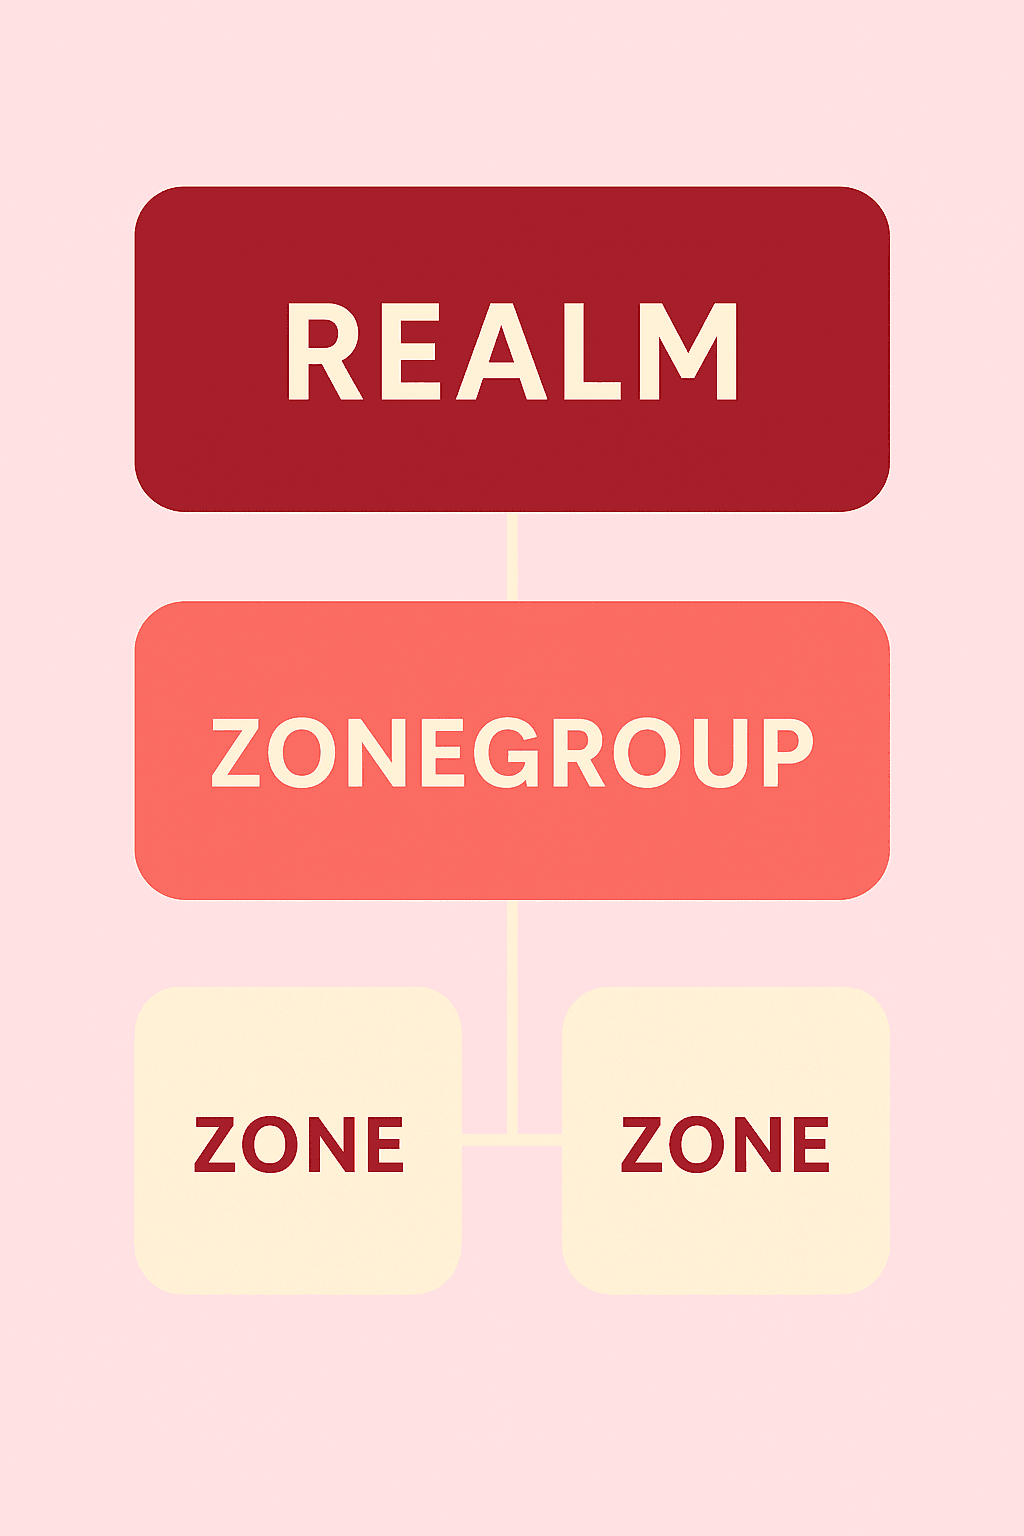
If you’re doing a simple single-site deployment (which most people start with), the process is fairly straightforward. You just tell Ceph to deploy an RGW service and specify the node (or host) where you want it to run. That’s it! Ceph will automatically create the required internal pieces: a realm, a zonegroup, and a zone. These are just logical building blocks that help Ceph organize where and how the data flows. You don’t have to worry about these names unless you’re planning to scale across multiple regions or datacenters.
The command will be :
ceph orch apply rgw <RGW_INSTANCE_NAME> --placement="1 ceph-node1"
Ceph will:
- Create the realm:
default - Create a zonegroup:
default - Create a zone:
default - Bind an RGW service to that host
You will have to use the server hostname for RGW instance name.

But if you’re building something bigger, say, a multi-zone or multi-site setup – then you can create these realms and zones manually to give you fine-grained control over how data is replicated between regions. For example, you might want to keep backups in India and a mirrored copy in Frankfurt, both reachable via the same interface. Ceph makes that possible, and RGW is the engine behind it.
Once RGW is deployed, Ceph assigns a web-accessible port to it (usually something like 8080 or 80) so you can start using it as an object store. From here, you can generate access keys, create buckets, and plug it right into your backup tool, no cloud provider necessary.
# Create a new realm
radosgw-admin realm create --rgw-realm=projectrealm --default

# Create zonegroup
radosgw-admin zonegroup create --rgw-zonegroup=zonegroup1 --endpoints=https://rgw1.example.com --master --default

# Create zones
radosgw-admin zone create --rgw-zonegroup=zonegroup1 --rgw-zone=zone1 --endpoints=https://rgw1.example.com --access-key=... --secret=... --default

# Commit configuration
radosgw-admin period update --commit
Once that is configured you need to setup the daemons on each zone:
ceph orch apply rgw zone1.rgw.node1 --placement="1 node1"
ceph orch apply rgw zone2.rgw.node2 --placement="1 node2"
To keep everything clean and manageable, we also assign labels to the nodes in our cluster (like “rgw” or “osd”), which helps Ceph know where to place what. This makes it easier later on when you scale out your setup with more nodes or move services around.
In short, this step transforms your Ceph cluster from just a bunch of drives into an S3-ready storage engine, fully orchestrated and ready for backup jobs, whether you’re backing up one server or an entire infrastructure.
Step 3: Configure Realms, Zones, and Access
By this point, we’ve built our Ceph cluster and deployed the RGW (RADOS Gateway). Great! Now we need to organize the way Ceph handles and delivers the S3-compatible storage and that’s where realms, zonegroups, and zones come in.
Sounds a bit like fantasy role-playing game mechanics? You’re not far off. But don’t worry, here’s what these terms mean in plain English:
Let’s See How it Works
Once your realm → zonegroup → zone hierarchy is set up, you’ll create S3 users who interact with the system using access keys (like AWS IAM users). These users will upload, download, or manage backups using any S3-compatible tool.
In the previous step we did create these zones and zone groups – so you should be all good to go – a cheatsheet though – in case you want to view those:
radosgw-admin realm list
radosgw-admin zonegroup list
radosgw-admin zone list
To get the details of each realm:
radosgw-admin zonegroup get
radosgw-admin zone get --rgw-zone=<zone_name>
To switch zones you can use:
radosgw-admin zonegroup default --rgw-zonegroup=new-zonegroup
radosgw-admin zone default --rgw-zone=new-zone
radosgw-admin period update --commit
You’re telling Ceph with the final command that :
“Hey, I’ve made changes to the RGW configuration (like realms, zonegroups, or zones), and I now want you to apply those changes across the system.”
You wont need those commands in general one node setup but if you do have a setup which is geographically separated then you may want to make use of these options.
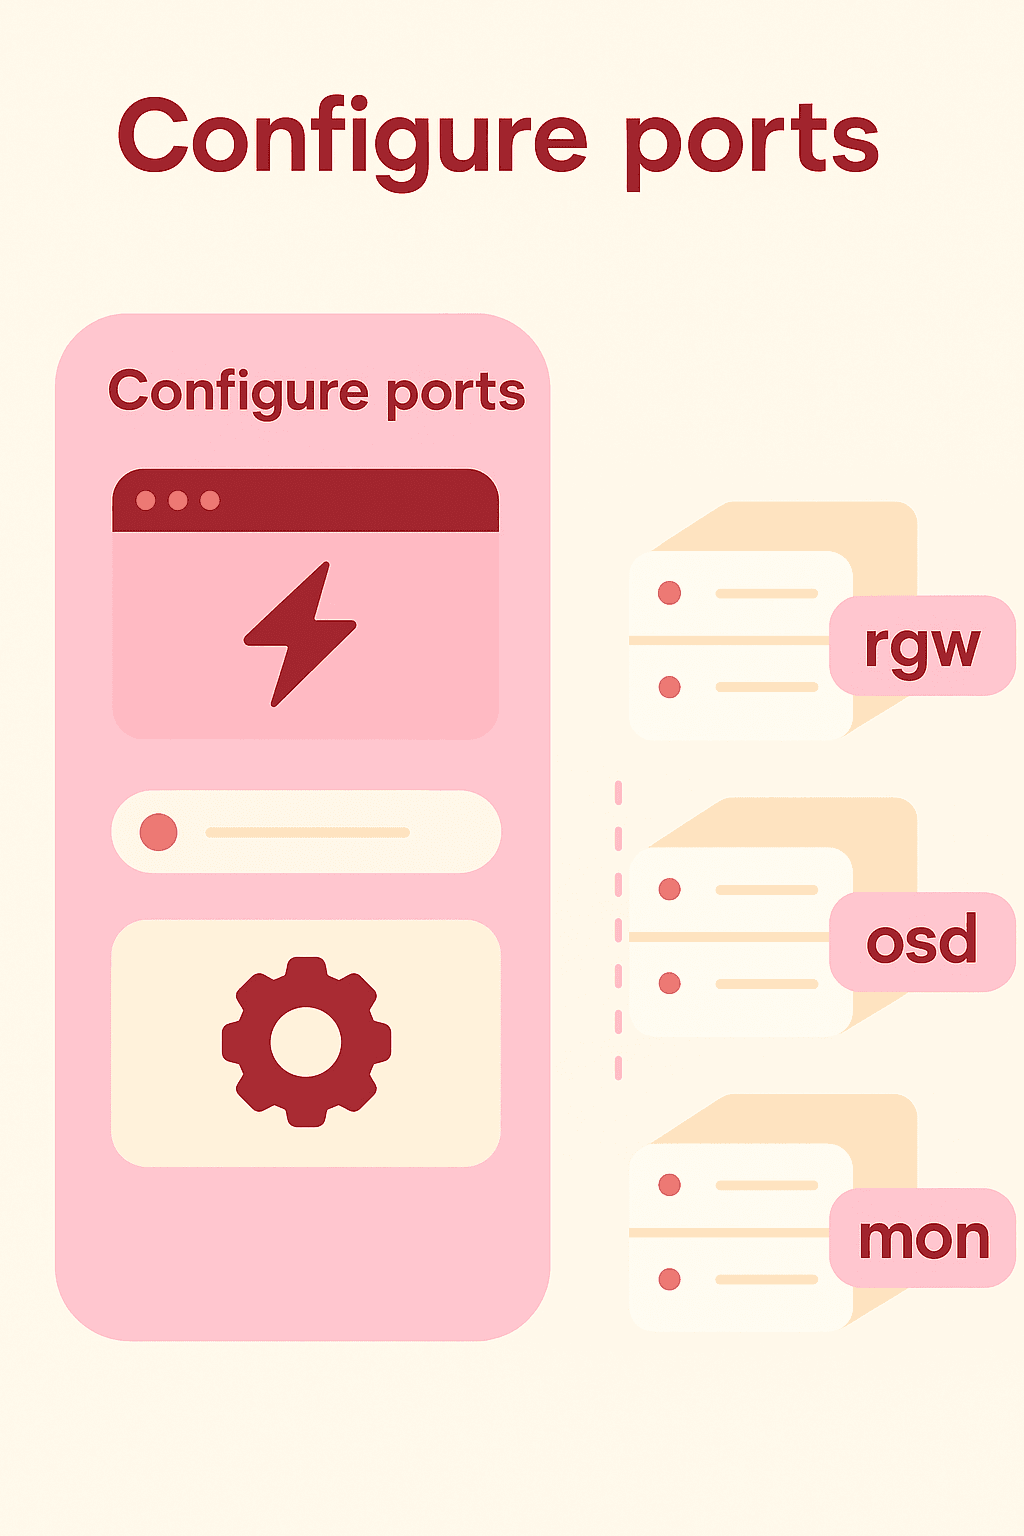
Step 4: Configure Ports and Labels
Making sure Ceph knows where to run things — and how to serve them to the outside world.
By now, your Ceph cluster is up, your RGW service is running, and the internal blueprint (realms and zones) is ready. But two crucial questions remain:
- Where is your object storage service actually available?
- How does Ceph know which node should run what?
This is what ports and labels help us answer and configure.
By default, when you deploy RGW using cephadm, Ceph exposes it through a web server frontend usually CivetWeb or Beast on a default port (like 80, 8080, or 8443).
But sometimes you want to change that maybe to avoid conflicts, or to match your firewall settings or proxy setup.
Here’s how to change the port for a specific RGW instance – login to your admin node for Ceph and run:
ceph orch ls rgw
The result should show up as:
rgw.default.rgw.node1
Once that is showing up – we can go ahead with the configuration:
ceph config set client.rgw.default.rgw.node1 rgw_frontends "civetweb port=8081"
ceph orch restart rgw.default.rgw.node1
I am using port 8081 for my setup, but feel free to use any of your free ports for the same.
Now lets test from any of the other nodes which can reach the admin mode by using curl:
curl https://<node-ip>:8081
Now lets complete the labeling part of the setup. Some machines are good for storing data (OSDs), while others are better at handling requests (like RGW). You don’t want Ceph to randomly place things. That’s where labels come in.
ceph orch host ls
To list the hosts and now we start labeling with:
ceph orch host label add node1 rgw
ceph orch host label add node2 osd
ceph orch host label add node3 mon
So once labelled you can easily ask Ceph to make changes to that specific node with the label reference:
ceph orch apply rgw default.rgw --placement="2 label:rgw"
This ensures only nodes with the rgw label will run RGW services, keeping things clean and organized.
The final step will be to ensure that the RGW end points are live and validated, you can easily run a curl command for this as well :
curl https://<rgw-host>:8080
and once that responds, just check the manager services from admin node:
ceph mgr services
You will see the JSON output, search for:
"rgw": "https://<ip>:8080"
to validate the data. And finally create s3 users for tests:
radosgw-admin user create --uid=testuser --display-name="Test User"
Output will give you access/secret keys to test with awscli.
What’s Next?
In Part 3, we’ll configure S3 credentials, integrate with tools like Kopia, and automate backup operations to your new Ceph RGW storage.
We’ll also cover bucket policies, ACLs, performance tuning, and real-world backup scripts that you can plug into any Linux-based infrastructure.


[…] you haven’t already – check out the first and second part of this […]
[…] Getting servers Ready for Ceph backups […]