 Too Long; Didn't Read
So, although my last post mentioned how things changed following the introduction to NeoVIM, this time I’ll try to explain on how the settings will be put up. This will, of course, be technical, but I will attempt to make it concise so that you do not have difficulty understanding the settings.
Building a Minimal Neovim Config
Setting up Neovim was critical for my development workflow. The requirements were quite conventional – the config files needed to be in ~/.config/nvim/init.lua for Linux/macOS or %localappdata%\nvim\ for Windows.
Essential settings

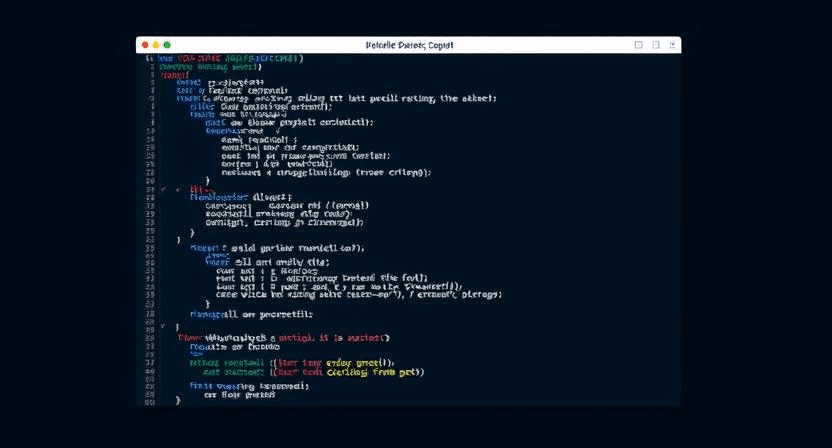
The way I structured my Neovim setup started with basic editor options. The manner these settings worked together made coding much smoother. My initial init.lua looked like this:
vim.opt.number = true          -- Enable line numbers
vim.opt.relativenumber = true  -- Show relative line numbers
vim.opt.undofile = true       -- Persistent undo history
vim.opt.splitbelow = true     -- Natural split behavior
vim.opt.splitright = true     -- Horizontal splits to the right
vim.g.mapleader = " "         -- Set space as leader key
Text editing needed specific attention. These settings helped me see code better:
vim.opt.cursorline = true     -- Highlight current line
vim.opt.termguicolors = true  -- Enable true color support
vim.opt.mouse = "a"           -- Enable mouse support
vim.opt.clipboard = "unnamedplus" -- Use system clipboard
Code structure was another factor I had to consider. The indentation settings turned out to be exactly what I needed:
vim.opt.expandtab = true      -- Use spaces instead of tabs
vim.opt.tabstop = 2           -- Width of tab character
vim.opt.shiftwidth = 2        -- Indentation width
vim.opt.autoindent = true     -- Copy indent from current line
The search features needed some tweaking. These options made finding code much easier:
vim.opt.ignorecase = true     -- Case-insensitive search
vim.opt.smartcase = true      -- Smart case sensitivity
vim.opt.hlsearch = false      -- Disable search highlighting
The selection was not just based on preferences. Syntax highlighting and file detection were critical parts:
vim.cmd("filetype plugin indent on")
vim.cmd("syntax on")
Window management turned out to be another important consideration. The way these settings handled splits and buffers was really amazing:
vim.opt.hidden = true         -- Enable background buffers
vim.opt.ttyfast = true        -- Faster terminal updates
vim.opt.signcolumn = "yes"    -- Always show sign column

These are the settings that I am following, not entirely a recommendation and do comment if you do have any more important settings that I may have missed out.
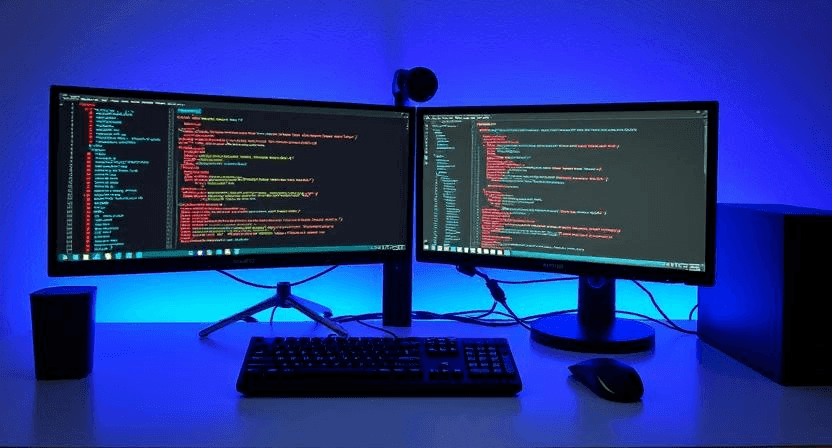
Mastering the Terminal Workflow
Terminal setup was critical for my Neovim experience. The way it brought development tools right into the editor changed everything about my coding. The requirements were quite conventional – I needed seamless access to command-line tools without switching windows.
Integrated development
Terminal mode in Neovim works as a special buffer type, letting me use command-line tools while keeping editor features. The way <C-\><C-N> handled mode switching turned out to be exactly what I needed for quick transitions between coding and commands.
Terminal buffers proved excellent for running multiple tasks. The manner they handled different processes was really amazing – I could keep git operations running in one terminal while tests ran in another. The selection was not just based on convenience, but also on how terminal mode supported Vim commands.
Multi-window management
Window organization became natural once I found the right approach. These commands turned out to be game-changers:
:split | terminal– Open terminal in horizontal split:vsplit | terminal– Open terminal in vertical split<C-w>followed byh/j/k/l– Navigate between splits:resizeor:vertical resize– Adjust window sizes
The way multiple terminals worked within one Neovim instance simplified everything. Cost was another factor – no need for separate terminal windows when everything stayed in the editor.
Session handling
Session management changed how I handled my workspace. The built-in features let me save everything – terminal buffers, window layouts, the whole setup. The :mksession command turned out to be exactly what I needed for storing complex layouts.
Project organization became much simpler with dedicated sessions. Each project got its own terminal windows, buffers, and layouts. The manner this setup handled multiple projects was really amazing.
The automatic session system proved excellent for maintaining consistency. Saving sessions under .nvim/session.vim in the project directory kept everything organized. The way it preserved terminal states and window arrangements let me pick up right where I left off.
Terminal integration with proper window and session handling transformed my workflow completely. The chats with other developers confirmed I wasn’t alone – this approach to terminal management really improved coding efficiency.
Streamlining Common Development Tasks
Setting up efficient tools was critical for my daily coding tasks. The way Neovim’s features and plugins worked together turned out to be exactly what I needed for handling complex operations.
Project navigation
File navigation changed completely after discovering NerdTree. The requirements were quite conventional – a sidebar showing project structure. The way <leader>n handled tree view toggling and <leader>N located current files proved excellent. Large projects became much easier to handle with quick file access.
Buffer management was another factor I had to consider. The vim-airline setup helped track open buffers with numbered indicators. The manner FZF integration handled file searching with :Files and :Buffers commands made everything smoother.
Search and replace
The built-in search features turned out to be powerful tools. The basic command structure looked like this:
:[range]s/<string-to-find>/<string-to-replace>/[flags]The search operations needed specific flags for better control:
g(global) – replaces all occurrences in a linec(confirm) – prompts for confirmation before each changep(print) – displays the last modified line
Project-wide changes became natural with telescope integration. The chats with other developers helped me discover the quickfix list approach with CTRL+Q. The command cfdo %s/stringOne/stringTwo/g | update | bd proved excellent for multi-file changes.
Code refactoring
LSP integration was really amazing for semantic refactoring. The selection was not just based on simple text changes – refactoring.nvim added specialized operations. These core features turned out to be game-changers:
-- Extract Function
-- Converts selected code into a separate function
:Refactor extract

-- Inline Function
-- Merges function content at call sites
:Refactor inline

-- Extract Variable
-- Creates variable from selected expression
:Refactor extract_var
The nvim-treesitter-refactor plugin made codebase navigation much simpler. The way it handled definitions and renaming was exactly what I needed:
require'nvim-treesitter.configs'.setup {
    refactor = {
        highlight_definitions = { enable = true },
        smart_rename = { enable = true }
    }
}
These tools working together changed everything about my coding workflow. The manner they handled complex operations with minimal keystrokes was truly impressive. Project navigation, searching, and refactoring became fluid parts of my daily development tasks.


[…] you haven’t been following up the series started here with how we ended up on NeoVim I also did cover few basic configuration settings that I do personally use and has been found […]