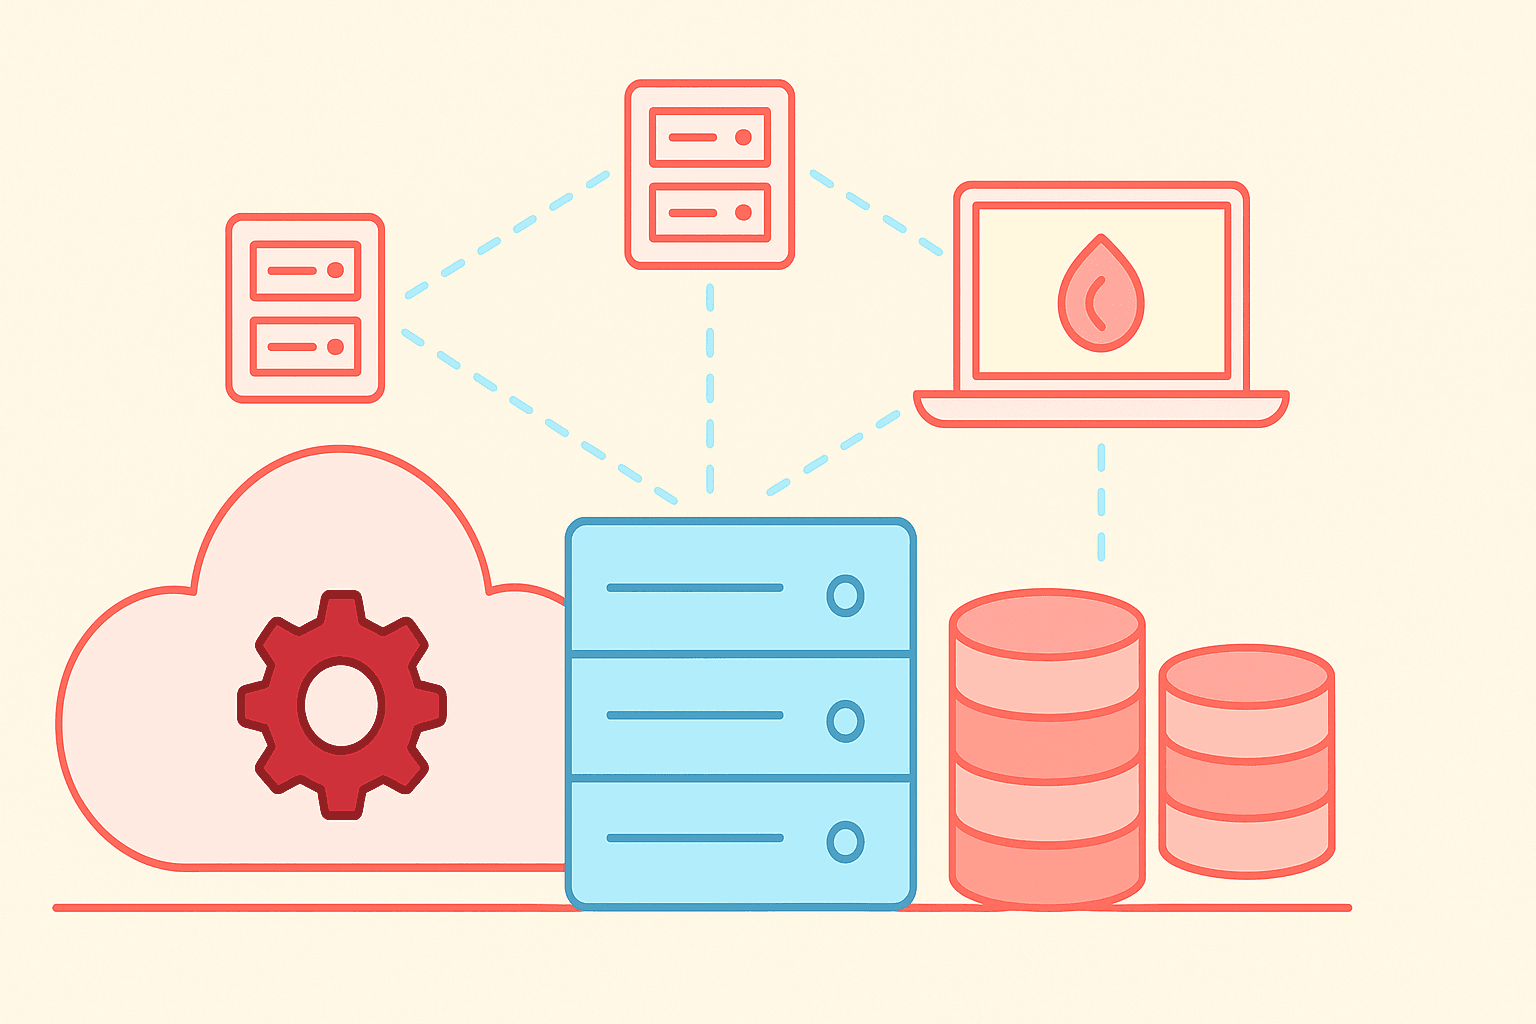
So far, we’ve got our Ceph cluster humming along and RGW (RADOS Gateway) set up. Now it’s time to unlock the real magic; the S3 interface. This is what lets Ceph act like Amazon S3, so you (or your apps) can store and retrieve objects using standard S3 APIs.
If you haven’t already – check out the first and second part of this tutorial!
If you’ve ever uploaded files to AWS S3, you’ll find this process familiar. The big difference here? You own the entire storage backend and no AWS bills, no mystery outages.
Before we dive into the actual configuration, let’s make sure you understand what we’re setting up and why it matters.
The S3 interface in Ceph is provided by the RADOS Gateway (RGW) — think of it as the translator between Ceph’s internal object storage and the outside world. By enabling the S3 interface, you’re essentially teaching Ceph to “speak” Amazon S3’s language.
There is lot of keywords involved but lets simplify this further: Imagine you own a warehouse full of goods (Ceph). Right now, it’s locked and only you know how to get things in and out. The S3 interface is like hiring a shipping service (RGW) that follows a universal system for accepting and delivering packages, so anyone with permission can send or receive items using standard delivery labels (S3 API calls).
So it is going to be a cakewalk to implement this – I will follow up on this as we go – so there may be few issues with connections if you do not open the firewall for RGW. Also note that S3 is time sensitive, so ensure that you do have the time synced between the Ceph installation and client machines.
Ensure RGW is Running
Before we create any S3 keys, let’s confirm that the RADOS Gateway is actually up and serving requests.
Run on the Ceph admin node:
ceph orch ps | grep rgw
If you do not see it running then you can restart this using:
ceph orch daemon add rgw <realm-name> <zone-name> <host>
You will need to replace your realm-name and zone name here. For example the command should be :
ceph orch daemon add rgw myrealm myzone node1
The possible errors with this process is if you do get the realm name wrong or zone name incorrect. Also ensure that the firewall is accepting the connections. Also ensure that the memory requirements from part 1 is already served.
Creating an S3 User
In Ceph, creating a user means generating:
So lets start with this process; On the Ceph admin node:
radosgw-admin user create --uid="myuser" \
    --display-name="My First S3 User" \
    --email="user@example.com"
This returns output containing access_key and secret_key.
{
    "user_id": "myuser",
    "display_name": "My First S3 User",
    "email": "user@example.com",
    "keys": [
        {
            "user": "myuser",
            "access_key": "EXAMPLEACCESSKEY",
            "secret_key": "EXAMPLESECRETKEY"
        }
    ]
}
Save these keys somewhere safe, once lost, you’ll need to regenerate them.
Other few points that you need to ensure while creating this is:
- Create separate users for each application or service — never reuse keys across multiple systems.
- Apply quotas to prevent runaway storage usage.
- Store keys in a secure place ideally a password manager or vault service.
Testing S3 Access
To test S3, you’ll need an S3 client tool. I like using the AWS CLI because it’s universal.
Install AWS CLI (on Linux):
sudo apt install awscli -y
Configure it with your Ceph S3 credentials:
aws configure
AWS Access Key ID [None]: <your-access-key>
AWS Secret Access Key [None]: <your-secret-key>
Default region name [None]: us-east-1
Default output format [None]: json
Also, set the endpoint URL (Ceph’s RGW address) when running commands:
aws --endpoint-url http://<rgw-host>:<port> s3 ls
This command should list the files on the end point and provide you with the list of files that are active.
Create a bucket and upload a file
So our goal is that we do create the s3 bucket now and upload a file there and retrieve it.
Ceph is happiest with path style by default. If you do not have DNS for virtual host style, stick to the basic form.
aws --endpoint-url "$ENDPOINT" --profile "$PROFILE" s3 mb s3://mybucket
and then verify the access:
aws --endpoint-url "$ENDPOINT" --profile "$PROFILE" s3 ls
Now that is setup – we need to test the uploads using:
echo "hello from ceph s3" > hello.txt
aws --endpoint-url "$ENDPOINT" --profile "$PROFILE" s3 cp hello.txt s3://mybucket/
This will upload the text file to the bucket and you can retrieve it using:
aws --endpoint-url "$ENDPOINT" --profile "$PROFILE" s3 ls s3://mybucket/
which will show the file listed on the bucket and to download you simply need to run:
aws --endpoint-url "$ENDPOINT" --profile "$PROFILE" s3 cp s3://mybucket/hello.txt ./hello-copy.txt
diff hello.txt hello-copy.txt && echo "content matches"
Managing Authentication and Permissions
Once your S3 user is working and you can upload files, the next big task is controlling who can do what.
Authentication ensures that only verified users connect.
Permissions decide what those users can actually do after they connect.
In Ceph RGW’s S3 interface, this is handled through:
- User Quotas → Limit storage usage or number of objects.
- Access Control Lists (ACLs) → Grant or restrict read/write access at bucket or object level.
- Bucket Policies → JSON-based rules similar to AWS S3 policies for fine-grained control.
You can easily set the policies using :
radosgw-admin quota set --uid=myuser --max-size=1G --quota-scope=user
radosgw-admin quota enable --uid=myuser --quota-scope=user
This sets a 1GB max for myuser and enable it
It is also recommended to add ACL’s for the buckets – this is important to set the rules for access for a group or a user:
aws --endpoint-url http://<rgw-host>:<port> s3api put-bucket-acl \
    --bucket mybucket \
    --acl public-read
This command does ensure that the bucket is publicly readable.
Using Bucket Policies for Fine Control
Bucket policies use JSON to define rules for actions (s3:GetObject, s3:PutObject) and conditions (like IP restrictions).
Example: Allow only a specific IP range to access a bucket:
aws --endpoint-url http://<rgw-host>:<port> s3api put-bucket-policy \
    --bucket mybucket \
    --policy '{
        "Version": "2012-10-17",
        "Statement": [
            {
                "Effect": "Allow",
                "Principal": "*",
                "Action": "s3:GetObject",
                "Resource": "arn:aws:s3:::mybucket/*",
                "Condition": {
                    "IpAddress": {"aws:SourceIp": "203.0.113.0/24"}
                }
            }
        ]
    }'
Here are few tips for security practices:
- Use the least privilege principle, give users only the permissions they truly need.
- Rotate keys regularly to reduce risk if credentials are leaked.
- Use HTTPS with a valid SSL certificate so credentials aren’t sent in plain text.
- Never rely solely on public-read ACLs for production, they can easily expose data unintentionally.
- Rotate keys regularly with
radosgw-admin key rm/add. - Never use the root S3 user in apps, create specific users for each application.
- Use HTTPS with a proper SSL certificate on RGW.
We’ve now set up and tested the S3 interface, created a user, and uploaded files. Your Ceph cluster is now behaving like your own private AWS S3 — and you’re in full control.
In Part 4, we’ll go into Setting up Kopia for Ceph backups — including bucket versioning, lifecycle rules, and connecting third-party tools.


[…] the last part, we explored how to configure the S3 interface and set up authentication in Ceph. With credentials […]